 Photo by Kyle Head
Originally Posted On: How to Build the Ultimate Backyard Shed – HazelNews
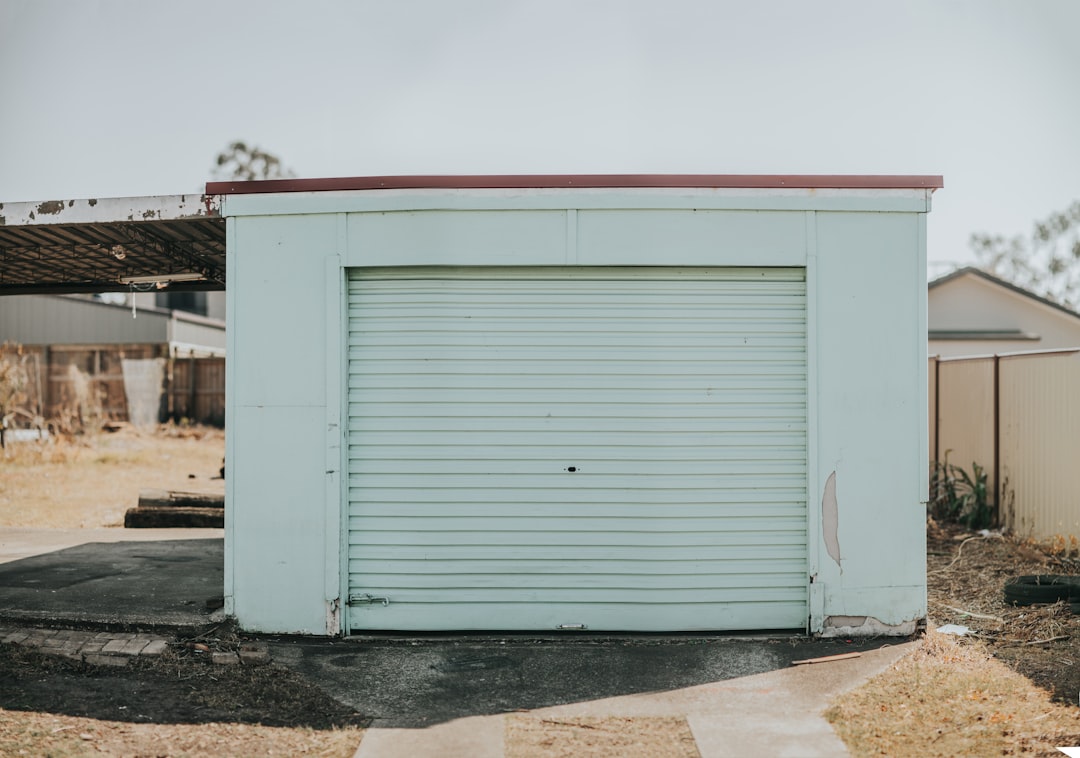
Do you want to have a backyard shed where you can do and store your DIY projects?
If you want space for your things, building a shed is a good idea. It’s a better alternative than getting a storage unit. These can cost you $100 to $300 per month.
Plus, you can use your backyard shed as a workshop for small crafts and projects. It’s up to you to decide the area’s purpose in your property.
Below are the steps when building a shed. We also included a handful of backyard shed ideas and tips. Read on and learn more:
1. Plan and Design Your ShedThe first step is to create your backyard shed plans and design. How do you want the shed to look like? Decide if you want to use your shed as a storage area or if you want it to have a workshop, too.
With these in mind, choose the building material and structural style for your shed. If you want a simple tool shed or storage shed, you can create one that looks like an outdoor closet. Make it as big as you need.
Do you want to use the shed for work, working out, or as a workshop? Nowadays, more Americans use their sheds as remote offices. To accomplish this task, your workshop shed’s electrical plans must include both lights and sockets.
Consider the weather and climate when planning your shed. Your shed design should be durable for both the winter and summer months. Consider the shed location and how to protect the shed from wild animals.
Incorporate all these factors into your final shed plan.
2. Get Permission to Build a Backyard ShedThe next step is to apply for and get a permit to build your shed. Even if you’re building a shed in your backyard, you need consent from the local building department, zoning board, and health department. These permits are necessary to ensure your structure’s safety.
When applying for a building permit, submit your shed plans with it. A building inspector ensures the plans follow local and national building codes. If they don’t, they will offer adherent alternatives.
3. Find the Perfect Shed LocationAfter getting approval, the next step is to get the right building location. There are several areas to avoid when building a shed. Don’t build your shed at the bottom of a hill or deep in the woods.
As much as possible, get a level location away from water. Keep a three-foot clearance around the perimeter of your shed. Once you have the shed location down, the next step is to build the shed’s foundation.
4. Construct the Shed FoundationNow, you’re ready to do your shed project’s actual work. Start building with the foundation. Depending on your backyard and shed plans, you may need to get a contractor to excavate the ground first.
In this process, they’ll dig up the ground and pour footings in. Then, they’ll put the soil back in a way that makes the ground more compact and level. Doing this makes the ground under your shed more stable and stronger.
This step isn’t necessary if you don’t plan to place heavy equipment or items in your shed. If it isn’t necessary, do the posts for the shed instead. You still have to dig up a hole in the ground before pouring concrete in.
5. Create the Frame and RoofOnce you have a foundation, the next step is to install a weather-resistant frame. Start by framing the floor using weather-resistant wood. It’s a requirement since it’s on the ground.
Use perimeter band joists, floor joists, and mudsills. Get lumber and ensure it’s pressure-treated. It protects the floor frame from both rot and bugs. For the rest of the shed frame, use regular lumber.
If you’re working on your shed alone, consider doing an assembly-type shed. It means building the frame and roof first. After finishing these parts, add the walls, door, and windows.
6. Building the WallsBuild your first shed wall with care and follow the plans. The way you make your first wall serves as the basis for building the rest. The only difference will be the door and window placements.
Depending on the shed design, you may want your front wall to be taller than the rest. If your roof slopes downward from the front, your back wall should be the shortest one. Once you got all the walls ready, get someone to help assemble your shed.
Shed Building Tips and ShortcutsTo make a shed that will last many years, use high-quality materials. Good lumber won’t come cheap, but it will pay off in the long run. Don’t forget to be meticulous in building the foundation of your shed to keep it sturdy.
Do you want to skip the whole wall, roof, and floor-building process? Consider creating a backyard shed made from a storage container. You can find a lot of great storage containers for sale online today.
If you don’t want to do everything the old-school way, you can also order a shed online. Some models will arrive ready for assembly. It’s a good alternative if you know that you can’t commit your time to a traditional shed project.
Start Your Ultimate Backyard Shed Project TodayWe hope you enjoyed learning from this guide to backyard shed-building. Building a shed will take up a lot of your time, effort, and money. Stick to your plan and be patient with your backyard shed.
The various benefits of having a backyard shed will make it worth your efforts. Focus on these advantages to keep your motivation alive.
Are you looking for more ways to improve your home? For more useful and informative guides and news, check out our other posts today. We cover everything from business, education, lifestyle, and more.
